Rendering Sezaam's Solution

Sezaam is a French smart-locker company that simplifies parcel deliveries for residents, companies, and delivery professionals. When I joined the team, the brand’s online presence was limited to a simple, non-responsive one-pager... far from what we needed to represent our solution or support our growth!
I led the complete redesign of Sezaam.fr, transforming it into a conversion-driven platform designed to support both our inbound and outbound marketing strategies.
In this article, I’ll walk you through:
- The approach and key decisions behind the website redesign
- How I crafted the 3D renders
- How I designed compelling 2D animations
The Vision Behind the Website
Our primary goal was clear from the outset: create a website that genuinely reflects our brand vision, establishes trust, and inspires action.
To achieve this, we strategically combined authentic photography with flexible 3D renders:
- Real photos were used for lifestyle imagery and human-centered interactions, grounding our product in relatable, everyday scenarios.
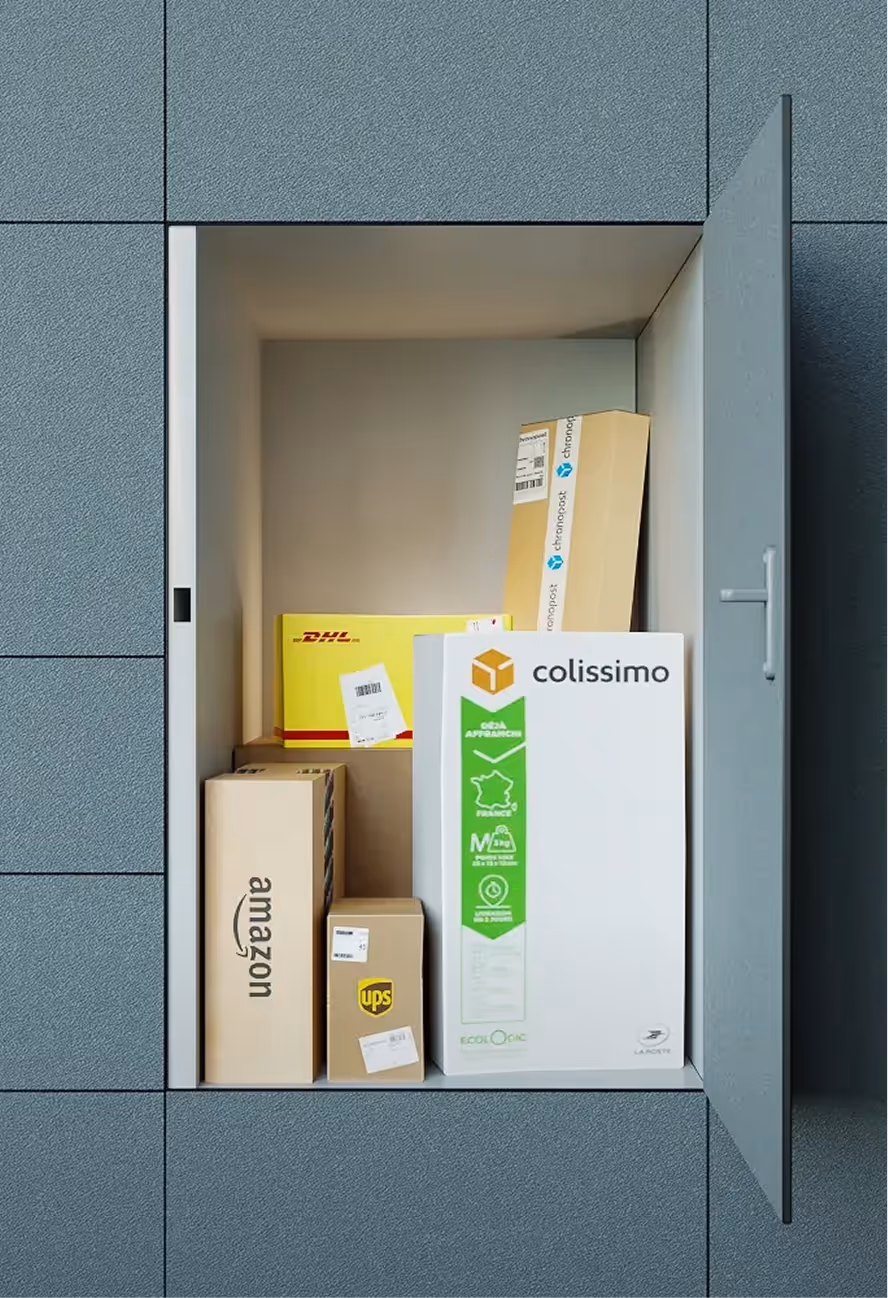
- 3D renders became essential for illustrating technical details clearly, such as product functionalities and internal components. This approach allowed rapid iteration, easy updates, and ensured visual consistency as our solution evolved.
Then, we chose Webflow to build the website as it perfectly matched our needs: it gave us full control over the integration, the creative freedom to build exactly what we envisioned, and the ability to easily hand things off to our marketing team so they could manage and create content independently.
Crafting the 3D renders
I designed all 3D visuals and animations using Cinema 4D, leveraging its powerful features for precise lighting control, realistic materials, and strong composition capabilities. These elements allowed me to clearly communicate the functionality and unique design of our lockers.
For rendering, I utilized Chaos Corona, well known for its ease-of-use and superior quality in architectural visualization.
Animated 3D renders
For dynamic presentations, such as a locker smoothly closing, I exported image sequences that I then animated on Webflow using Lottie. This workflow created smooth, lightweight animations optimized for all devices. It also provided flexibility to quickly adjust or update visuals in response to product evolution.
How I designed the 2D animations
To bring our app to life, I created interactive animations simulating user interactions within the app using After Effects. These animations were seamlessly integrated into the website, providing visitors with realistic demonstrations of key user flows as they scrolled through the page.
The animation process was straightforward:
- I created layered animations in After Effects
- Exported the animations as .json files using the Lottie extension
- Then I integrated animations directly into Webflow with the Lottie widget, easily fine-tuning the timing and interactions
This streamlined workflow significantly elevated the interactive feel of our product presentation, transforming static mockups into engaging, interactive experiences.
